Introduction
Creating booklets is a valuable skill for various purposes, including educational materials, product manuals, event programs, and more. While there are many professional design tools available, Microsoft Word remains a popular choice due to its accessibility and user-friendly interface. In this detailed guide, we will walk you through the steps on how to make a booklet in Word, including formatting tips, design best practices, printing options, and troubleshooting common issues. By the end of this guide, you’ll be able to create polished, professional-looking booklets using Word.
Why Create Booklets in Word?
Microsoft Word is often underestimated when it comes to designing sophisticated documents. However, it offers numerous features that make booklet creation easy and effective.
Benefits of Using Word for Booklet Design:
- Accessibility: Available on most computers, making it an ideal choice for beginners.
- User-Friendly Interface: Easy-to-use tools and templates for all types of documents.
- Cost-Efficient: Word is often part of the Microsoft Office suite, which many users already have.
- Compatibility: Documents created in Word can be printed, converted to PDF, or shared digitally.
- Flexibility: Ability to add images, tables, charts, and other graphical elements easily.
Preparing to Create a Booklet
Before diving into the booklet-making process, it’s essential to prepare your content and plan your layout.
1: Define Your Purpose
- Identify the purpose of your booklet (e.g., manual, brochure, event program).
- Decide the size and orientation of your booklet.
- Plan the content sections you want to include.
2: Gather Your Materials
- Text content (written materials, headings, subheadings, etc.).
- Images, charts, or diagrams you want to include.
- Branding elements such as logos, fonts, and color schemes.
3: Set Up Your Document
- Open Microsoft Word.
- Click on File > New > Blank Document.
- Go to the Layout Tab.
- Click on Margins > Custom Margins.
- Set the orientation to Landscape.
- Adjust margins according to your preference.
Creating the Booklet Layout
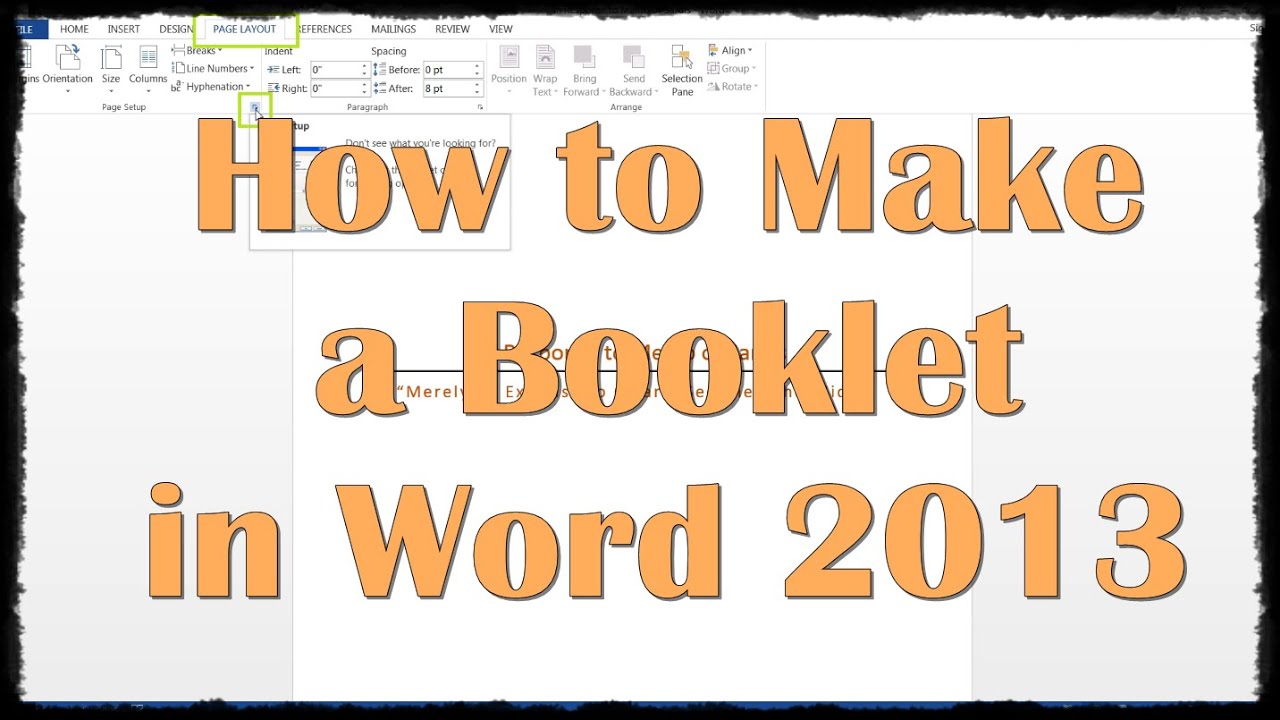
4: Configure Page Settings
- Open Word: Start by opening a blank Word document.
- Go to Layout Tab: Click on the Layout Tab located at the top menu.
- Select Orientation: Choose Landscape for a booklet-style layout.
- Set Margins: Go to Margins > Custom Margins and adjust them as necessary. For booklets, it’s common to use a Narrow Margin setting.
- Select Page Setup: Click on Page Setup and then go to the Multiple Pages dropdown. Choose Book Fold.
- Set Gutter Width: Adjust the Gutter Width to provide space for binding. This prevents text from being obscured by the binding process.
- Set Paper Size: Depending on your requirements, choose standard paper sizes like A4 or Letter.
5: Inserting Content
- Add Text: Type or paste your content into the Word document.
- Format Text: Use headers, subheaders, and normal text to structure your booklet.
- Insert Images: Go to Insert > Pictures and add relevant images to enhance your booklet.
- Use Tables and Charts: Add tables or charts if your booklet requires structured data presentation.
- Add Page Numbers: Go to Insert > Page Number to number your pages accordingly.
Designing Your Booklet
6: Applying Styles
- Use predefined styles or customize your own for headers, subheadings, and body text.
- Maintain consistency throughout the document.
7: Adding Graphics and Visuals
- Insert images, icons, and graphics to enhance visual appeal.
- Ensure images are high-quality and relevant to the content.
8: Proofreading and Reviewing
- Review your content for spelling and grammar errors.
- Ensure all sections are properly aligned and formatted.
Printing and Saving the Booklet
Step 9: Print Settings
- Go to File > Print: Choose your printer.
- Select Booklet Printing: Under Settings, choose Print on Both Sides or Manually Print on Both Sides.
- Check Print Preview: Review your booklet to ensure everything is properly aligned.
Step 10: Save as PDF
- Save your document as a PDF for easier sharing or printing by going to File > Save As > PDF.
Common Mistakes to Avoid
- Not Checking Print Preview: Always preview before printing to avoid layout issues.
- Ignoring Margins and Gutter Settings: Proper margins and gutter widths are essential for a polished booklet.
- Using Low-Quality Images: Ensure all images are high-resolution for professional quality.
- Overcrowding Pages: Maintain proper spacing for readability.
- Skipping Proofreading: Double-check spelling, grammar, and alignment.
Conclusion
Creating a booklet in Word is a straightforward process if you follow the steps outlined above. From setting up your document to designing, formatting, and printing, Microsoft Word provides all the tools you need to produce a high-quality booklet.
Whether you’re preparing a business presentation, educational material, or a creative project, mastering the process of how to make a booklet in Word can be a valuable skill. Continue experimenting, refining, and enhancing your booklet designs to achieve the best results.